If you’ve been researching permanent outdoor lighting, you’ve probably gotten to the point where you’re seriously considering a quote — or already have one. Almost everyone has the same question before pulling the trigger: What actually happens? How long is this going to take? Will there be a mess?
Here’s exactly what to expect, from the free estimate to the moment our crew drives away.
Step 1: The Free Estimate Visit
A technician comes to your home, walks your roofline, and measures the linear footage of fascia we’d be covering. They note any architectural details — dormers, multiple peaks, garage runs, corners — and walk through zone options with you. At the end of the walk-through, you get an exact price on the spot.
No email follow-up. No “we’ll have a quote to you by end of week.” You know what it costs before they leave your driveway. If the number works, you schedule the install right there. If not, you leave knowing exactly what you’d be looking at — no pressure, no follow-up calls you didn’t ask for.
The estimate visit takes about 20–30 minutes for most homes. The technician will walk the full exterior with you, take measurements, and explain the zone layout. It’s a good time to ask about channel color options, scheduling, app functionality — anything you want to understand before committing to anything.
Step 2: Scheduling the Install
After you decide to move forward, you pick an install date. Most Lehigh Valley installs are booked 1–3 weeks out depending on the season. Spring and summer are easier to get on the calendar quickly. October and November book up faster as the holiday season approaches.
You don’t need to be home the entire day. The crew works on the exterior. You’d want to be around — or reachable — in the afternoon for the final walkthrough and app setup, but you’re not needed on-site the whole time.
Step 3: Install Day — What the Crew Does
Here’s the sequence for a typical residential install in the Lehigh Valley:
-
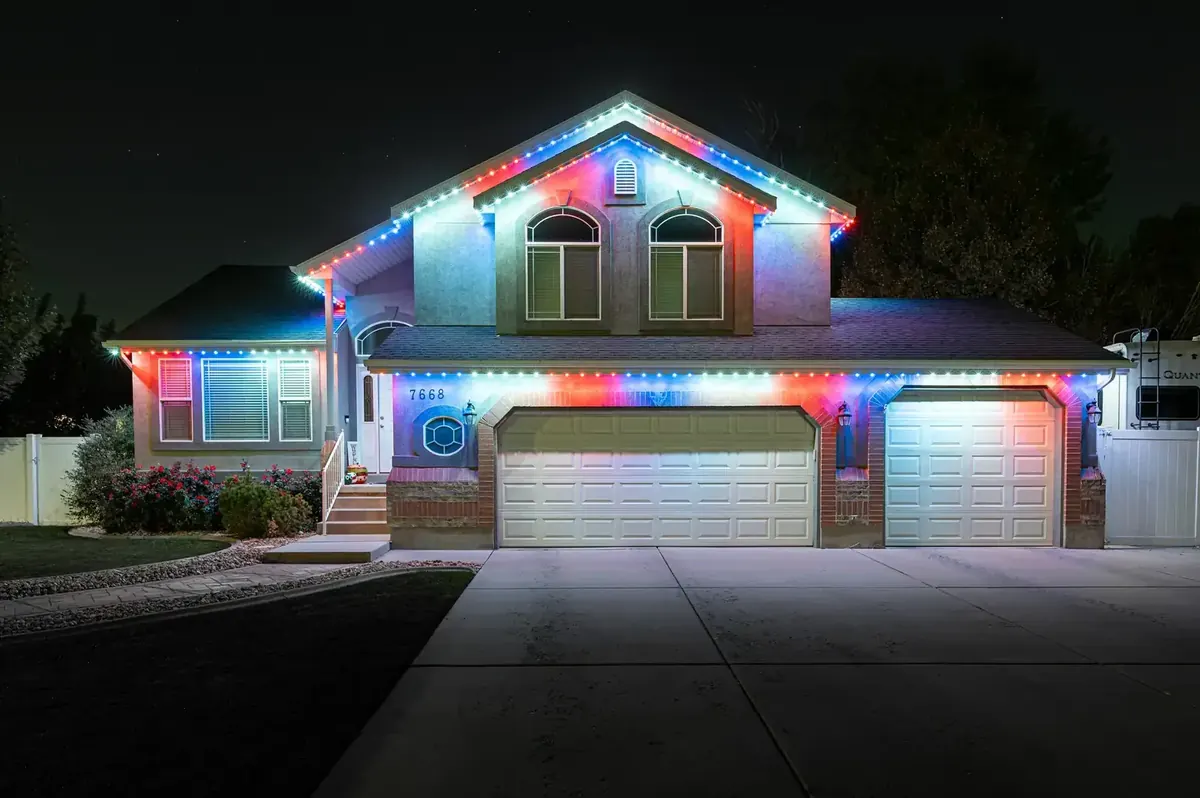
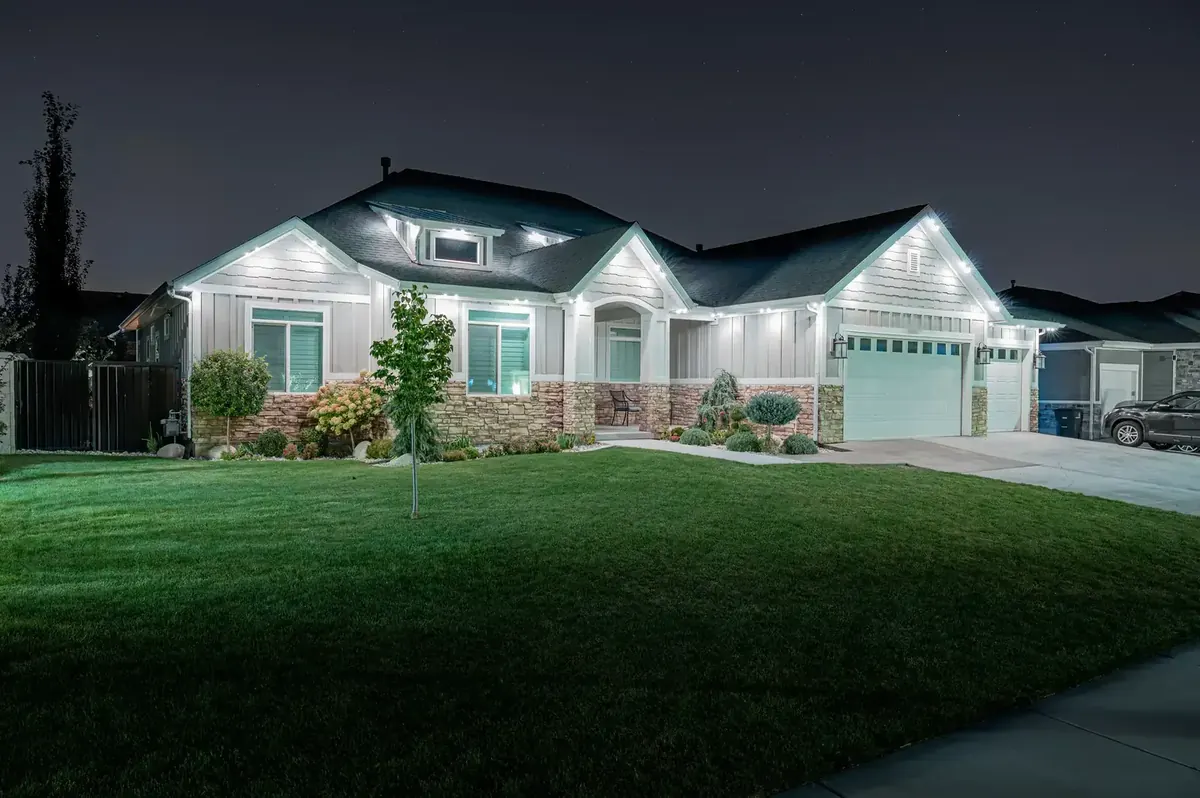
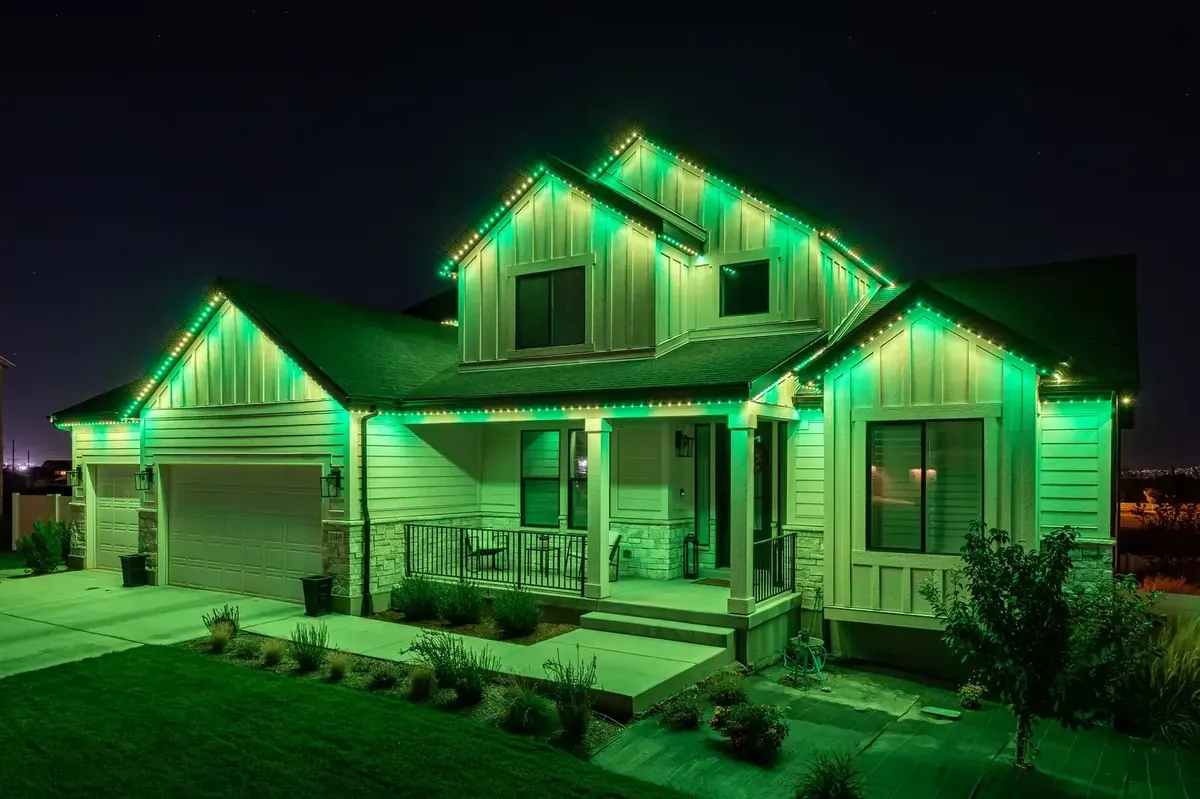
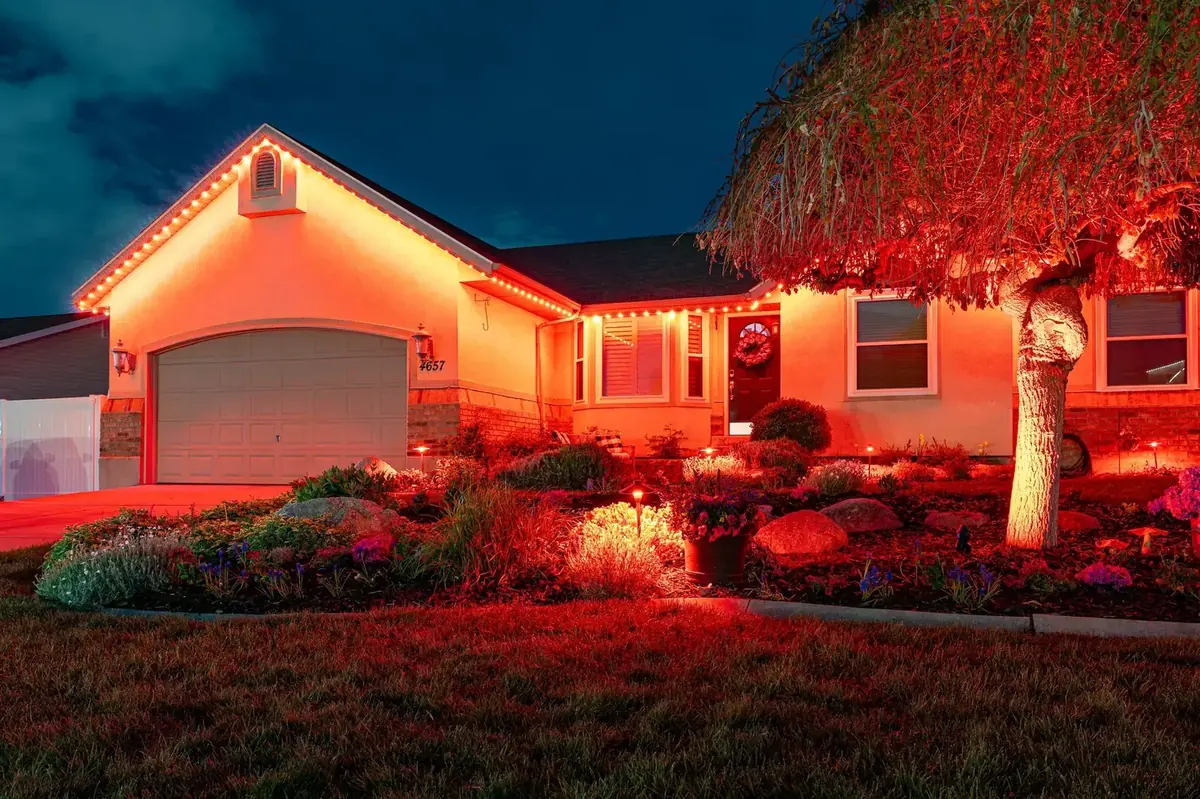
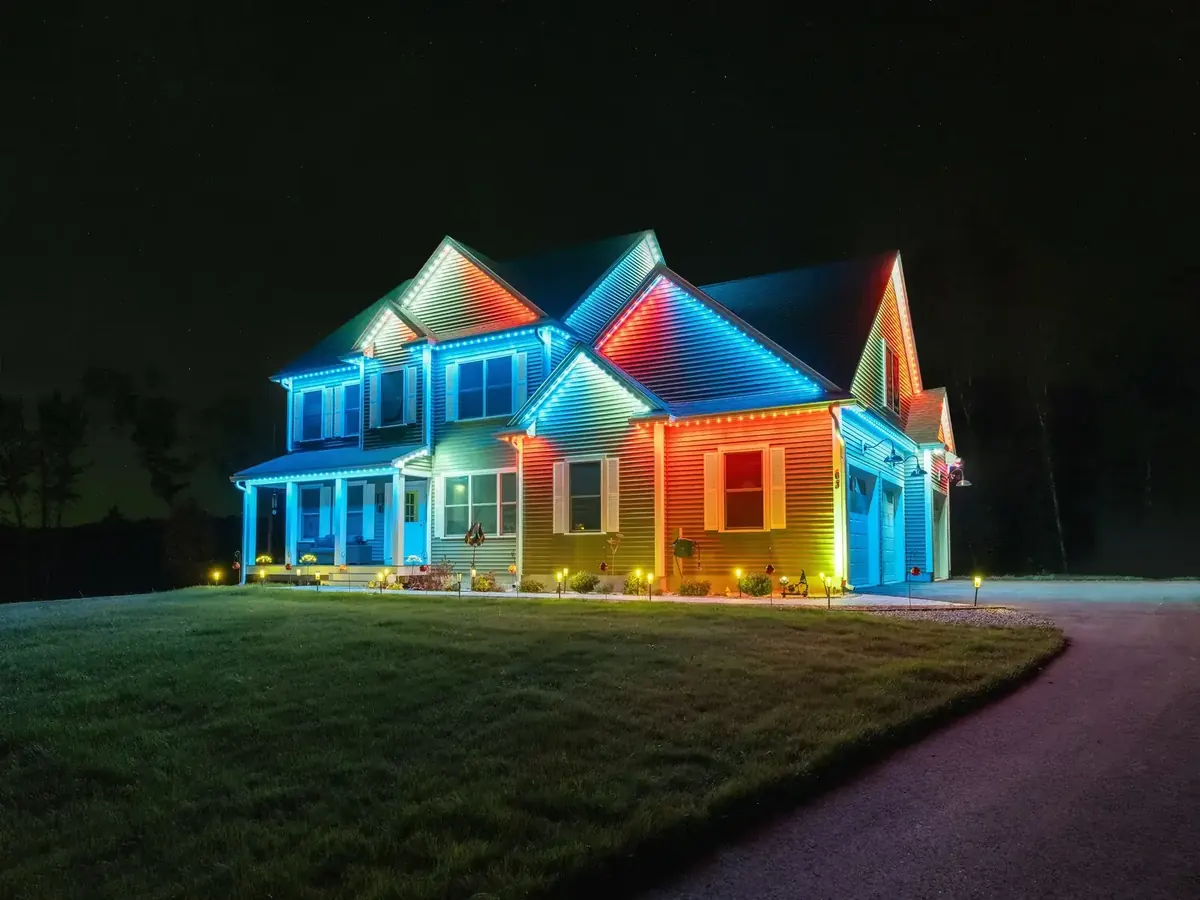
1Channel mounting The crew snaps Trimlight’s aluminum channel to your fascia boards using mounting clips. No nails, no screws drilled into the wood — the clips attach cleanly and can be removed without damaging the fascia. The channel is color-matched to your home’s trim before the job (50+ color options), so it blends with your exterior from day one. From the ground during the day, you’ll see a thin aluminum rail that reads as part of your roofline — not a lighting system.
-
2LED installation The LED strips feed into the channel. On longer runs, they feed from multiple access points. The channel fully encloses the LEDs. When lights are off during the day, there’s virtually nothing visible from the street.
-
3Wiring and controller Low-voltage wire runs back to a Trimlight controller box mounted on the exterior — usually near an existing exterior outlet or a discreet spot on the side of the house. The controller is small, weatherproofed, and connects to your home WiFi. That’s what the app communicates with.
-
4Programming and walk-through Before the crew leaves, they install the Trimlight Edge app on your phone, connect it to the controller, and walk through the basics with you. They’ll set a simple schedule, show you how to change colors and patterns, and answer questions about the app. Most homeowners feel comfortable with it in about 15 minutes. By the time the truck leaves, the lights are already programmed and running on a schedule.
How Long Does It Take?
Here’s the breakdown by home size:
- Smaller home (under 130 linear ft): Half a day or less. Ranches and smaller capes often wrap up by early afternoon.
- Average home (130–210 linear ft): One full day. This covers most colonials, two-story homes, and split-levels in the Lehigh Valley. Expect the crew to be done by late afternoon.
- Larger or complex home (210+ linear ft, dormers, multiple peaks): One to two days. Day two is typically a shorter half-day to finish and complete programming.
After the Install: What You Leave With
By the end of install day, you have:
- Trimlight channel mounted along your roofline, color-matched to your trim
- LEDs installed and fully enclosed in the channel
- Controller mounted, weatherproofed, and connected to your WiFi
- Trimlight Edge app installed on your phone, lights already on a schedule
- A walkthrough from your technician covering everything you need to use the system
The area is cleaned up before the crew leaves. No material scraps, no packaging, nothing left behind.
Common Questions About the Install
Will it damage my fascia boards?
No. The mounting clips attach without any penetrations into the wood. If you ever wanted the system removed entirely, the fascia would look the same as before install. This is part of why Trimlight works on historic homes — the West End Victorians in Allentown, older colonials throughout Bethlehem — without any concern about damage to original woodwork.
What if it rains on install day?
Light drizzle is usually fine. We won’t put the crew on ladders in active thunderstorms or unsafe conditions. If we need to reschedule for weather, we’ll handle it — no drama, no inconvenience to you.
Can I add more zones later?
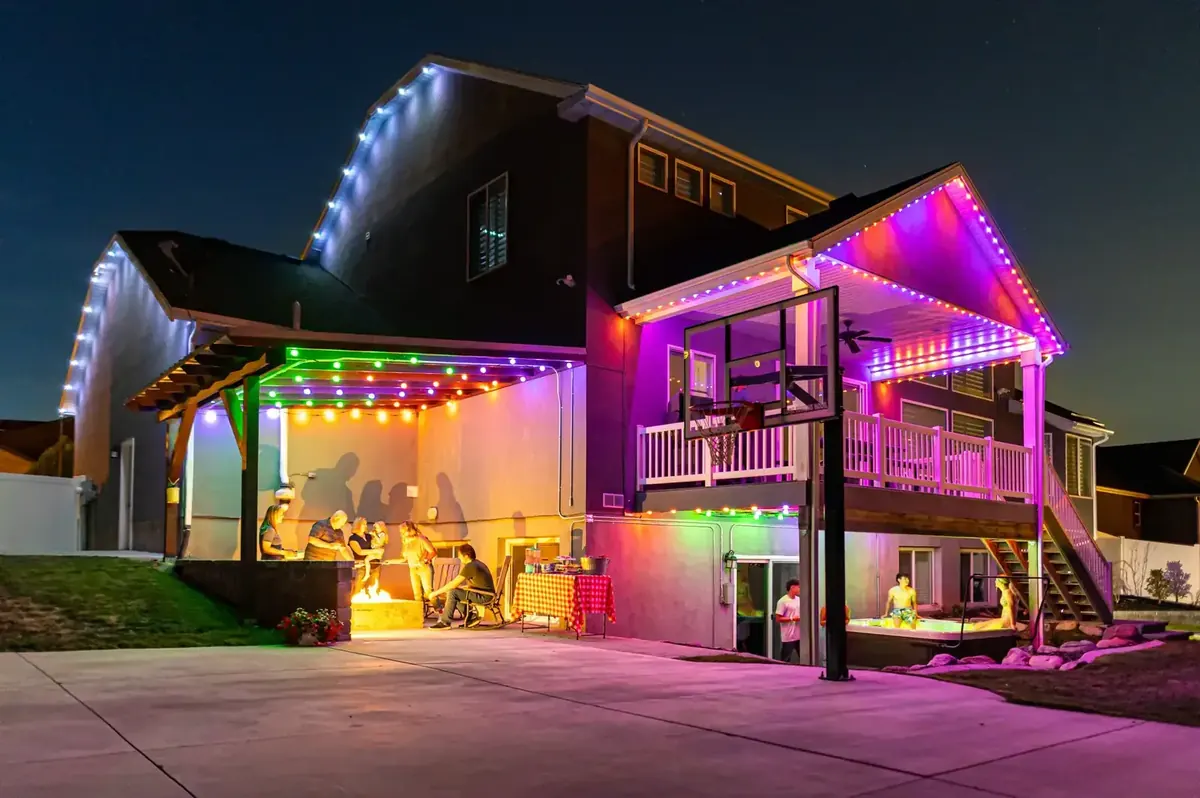
Yes. The controller has capacity for additional zones. We can add channel runs to other areas — a detached garage, a patio, a fence line — in a future service visit. A lot of homeowners start with the front roofline and add zones after seeing how the front looks.
What if something stops working?
Call us. Trimlight carries a lifetime product warranty on the system — if a component fails due to a product defect, it’s covered. Because we’re your local Lehigh Valley dealer, you’re calling us directly, not a national company three states over. We handle warranty service in person.
If you’re still doing the math on whether it’s worth it, the cost comparison post walks through what most Lehigh Valley homeowners are already spending on annual light installation — and when a permanent system pays for itself. Or if you’re ready to find out what it would cost for your specific home, schedule a free estimate.